Post-it note wall calendar

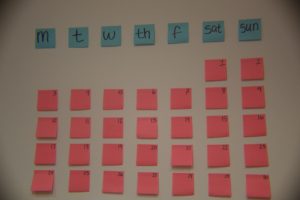
This decoration is useful, extremely easy to make and can spice up any blank wall in your dorm room. There are just a few things you’ll need to put this calendar together: a ruler, a sharpie, and a few different-colored Post-it notes. To start, put the days of the week on seven post-it notes in the first color, and place the first one in an area that looks an appropriate height and centered where you like it. I measured two inches between each Post-it length-wise and one inch between each Post-It height-wise, but you can change these measurements if you’d like something more square. To start the days of the month, find out which day the month you’re working on starts on and measure accordingly from the Post-Its that are already on the wall, perhaps using a different colored Post-It. Finally, add dates on one of the top corners of each post-it. At the end, you should have a blown up version of the calendar that’s in your planner! This would look nice overtop a desk or beside your bed to remind you of important dates and deadlines that are coming up.
Geometric popsicle stick shelves

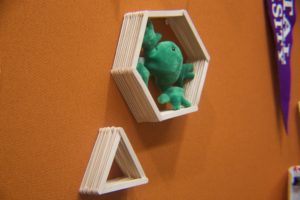
While they can be kind of tedious at times to put together, these shelves can prove for an interesting wall piece and can hold some of your small knickknacks. To make the shelves you’ll need a ton of popsicle sticks (which can be found for fairly cheap at your local craft store,) a hot glue gun and possibly some paint or wood stain. To make a hexagon-shaped shelf, print a large hexagon that has sides the length of your popsicle sticks to use as a blueprint (you can free hand it, but it might turn out a little wonky). Lay down the popsicle sticks on your diagram so that the ends of three of the popsicle sticks overlap the ends of the other three, kind of like you’re building a log cabin. Use hot glue to attach the ends together and repeat the process, continually alternating which popsicle sticks go on top. After about 10-15 layers, the shelf should be deep enough to hold something. There are a ton of different geometric shapes you can make, and you can also use wood stain or paint to add color to your piece, so get creative!
Three-tiered clothespin photo display

I like to print out photos and display them rather than keeping them all on my phone, and this photo display is an easy way to show them off. To make the display, you’ll need two command hooks, twine or string of some kind, scissors, printed photos and mini clothespins. For the printed photos, I always try to have a good mix of vertical and horizontal pictures to keep things semi-organized. Start by placing your command hooks a couple feet apart on the wall (you can make the display as big or small as you like to accommodate the amount of pictures you have, but our command hooks are about two feet apart). Then measure a string that is just slightly longer than the distance between the command hooks and tie it to the hooks. This will be your top tier. For the second tier, tie one end of the string to the command hook and drape it across to the other hook, giving yourself enough room beneath the first string for the pictures to hang. Tie the last longest piece to the bottom, again giving yourself enough room beneath the second string for pictures to hang. Finally, hang the pictures on each tier with the clothes pins!
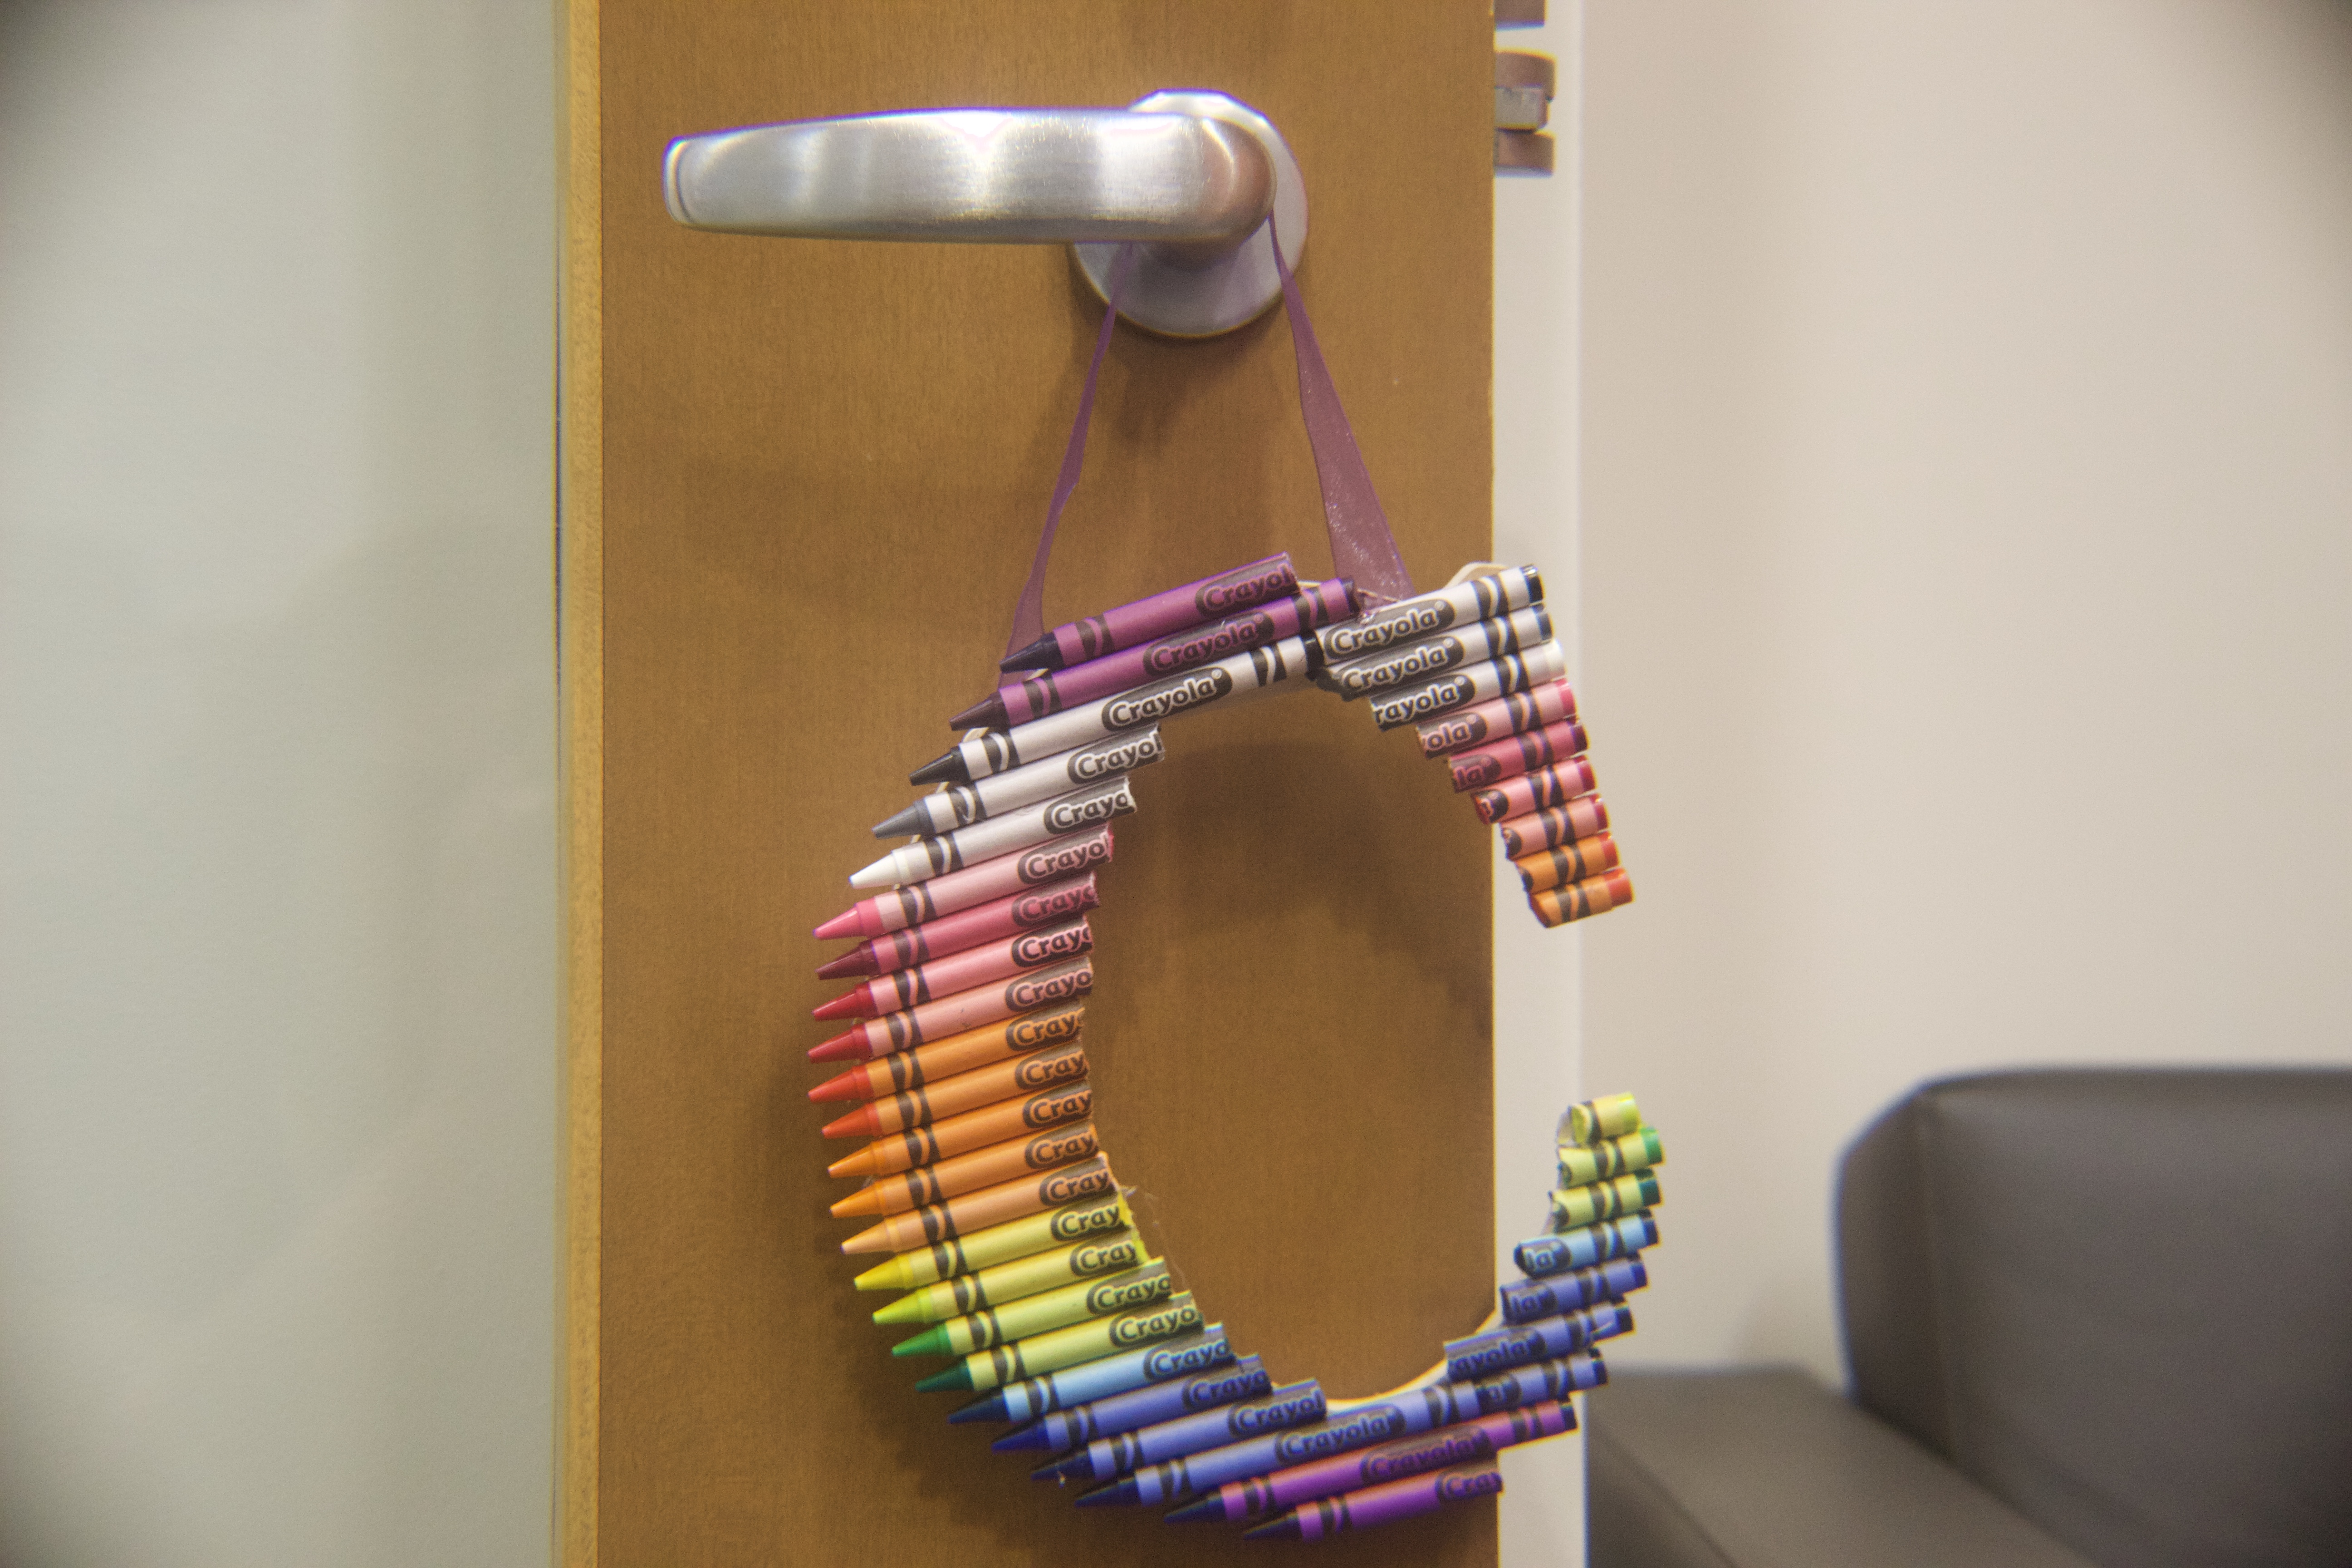
Crayon monogram

This one is a little more time consuming, but can make for a great gift for a friend or a cool piece for your dorm room wall! To make it, you’ll need a couple boxes of crayons, a knife, a lighter, a hot glue gun, some ribbon and a big wooden letter. We did our letter with all the crayon colors, but you can stick with just one or a certain color palette. Start by layering the crayons in whatever color palette you chose and hot glue them one by one to make sure the letter is completely covered. Once the letter is completely covered by crayon, use a knife that’s been heated by a lighter to cut off the excess pieces of crayon and make the letter legible. Finally, hot glue a piece of ribbon to the back so it’s able to be hung. We added a popsicle stick on top of the ribbon to make it more sturdy.
Macramé wall art

Have a stick, some yarn, basic knot knowledge, and a few beads laying around? Then this is a great DIY to add some boho vibes to your space. Start by cutting 10-15 pieces of yarn each about a yard long then use a cow hitch or lark’s knot to attach the string to the dollrod. Try hanging your art on the wall at this step so it’s a little easier to keep your knots symmeterical. The knot I used throughout the piece was a square knot. Remember that knot you learned in middle school to make all those paracord bracelets? Yeah, that one. I started on the two outside strings on either side and tied a square knot then another with the second and fifth, this time tying the knot with two strings in between. You keep repeating this step until you make it to the middle then tie those together. This is how you create the chevron-like pattern. Feel free to mix up the number of strings the knot surrounds, make it unique. Keep adding knots in this pattern to make the macramé as long as you want. Don’t forget to add beads along the way. When you’re all done, cut the strings at the bottom. The string in the middle should be the longest and the outsides should be the shortest, creating a point at the bottom.